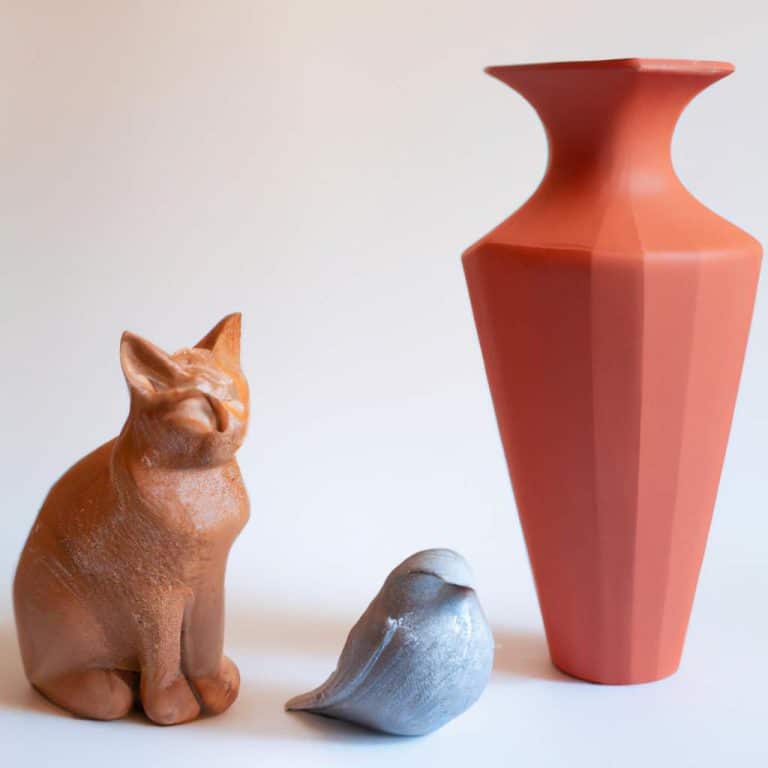
Clay is a natural material that is commonly used for sculpting and modeling. It has gained popularity in the world of arts and crafts, home decor, and even in educational settings. Regardless of the type of clay used, it is a versatile and enjoyable material to work with. There are countless objects that can be created through clay modeling, providing a sense of satisfaction from crafting something with your own hands. Here are three easily achievable clay projects to explore.
Creating clay spoons
Making ceramic spoons is one of the easiest things to do during your clay modeling workshop. It's actually the perfect activity if you're just starting out in the world of clay modeling. It's time to ditch your boring stainless steel spoons and opt for handmade ceramic spoons! These are practical and eco-friendly objects. However, in order to bake your spoons, you will need access to an oven and be a bit patient during the firing process.
- "Making Christmas-themed miniature houses
To add a remarkable and original touch to your Christmas decoration, you can enjoy making small objects yourself. For example, you can create beautiful little clay Christmas houses that are sure to impress! This activity requires patience as you need to carefully cut out all the windows and other details on the houses. If you're not yet familiar with working with clay, you may find assembling the different parts of the house challenging. However, despite the time it takes, the end result is always satisfying. So go ahead and give it a try! It's time to start working on your DIY interior decoration for the upcoming Christmas festivities!
Creating Unique Jewelry Holders
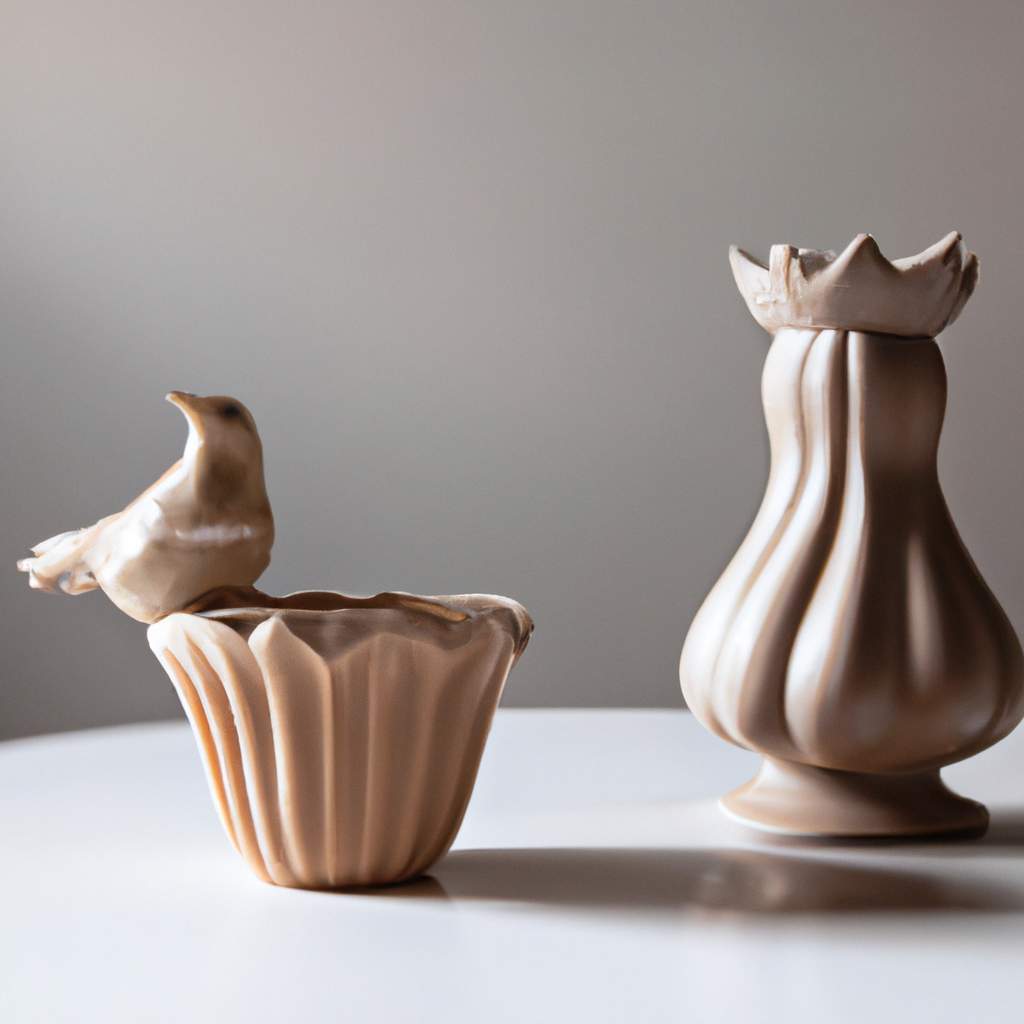
In addition to Christmas cottages, you can also create jewelry holders out of air-dry clay, which are very useful for organizing and displaying your jewelry. To do this, all you need is air-dry clay, a pointed object, a small bowl, and some varnish or paint, depending on your preference.
To make these objects, start by rolling out the clay on a flat surface. Then use the small bowl to trace a circular shape. If desired, you can also use a pointed tool (such as a toothpick) to add some decorative elements to the holder. Finally, remember to curve the edges of your jewelry holder. To do this, place the clay circle inside the bowl and let it dry for about 24 hours.
Once the clay has dried, you can now paint your holder according to your preferences. Then use it to organize and store your necklaces, bracelets, and earrings. This practical decorative item can also be a great DIY gift idea for a loved one!
